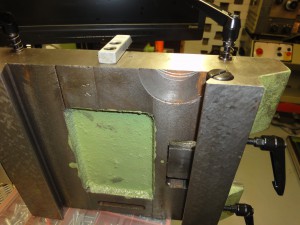
Finishing off the X axis install by fixing the reader head to the saddle was hampered by the fact I didn’t have enough clearance between the back of the saddle and the column. – So the saddle had to come off ! I removed the bearing blocks at each end of the table and unwound the feedscrew (use a cordless drill – saves a lot of time!). Then it was a case of sliding the table off – be warned, it’s pretty heavy. Once thats done the Y nut can be disconnected from the saddle, and that slid off the base – leaving this:
No bad thing as it meant I could clean up all the surfaces nicely. Looks like somebody had a positioning accident with the cutter when machining the saddle:
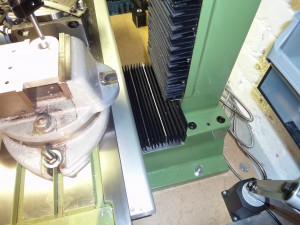
It’s not a bearing surface though, so no real harm done. With the saddle off it was then simple to drill and tap the holes to secure the reader head, and then re-assemble the machine. As I had the machine apart I also installed a new bellow to guard the y axis – the flapping rubber sheet just seemed to be in the way.
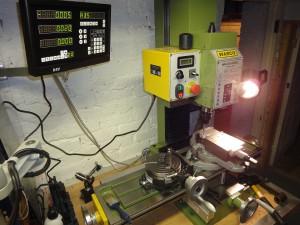
Finally installed and working – Z axis to go on still, but as the mill already has a small readout for the quill it’s not pressing.


