Tag Archive: WM-18


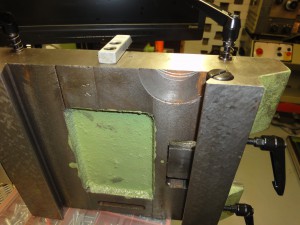
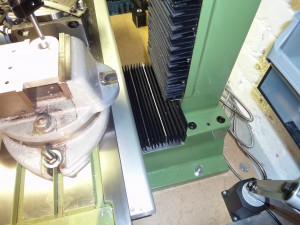
Finishing off the X axis install by fixing the reader head to the saddle was hampered by the fact I didn’t have enough clearance between the back of the saddle and the column. – So the saddle had to come off !  I removed the bearing blocks at each end of the table and unwound the feedscrew (use a cordless drill – saves a lot of time!).  Then it was a case of sliding the table off – be warned, it’s pretty heavy.  Once thats done the Y nut can be disconnected from the saddle, and that slid off the base – leaving this:

No bad thing as it meant I could clean up all the surfaces nicely.  Looks like somebody had a positioning accident with the cutter when machining the saddle:

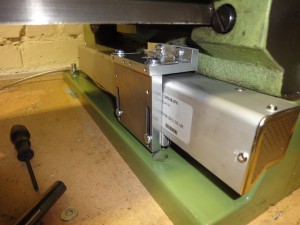
It’s not a bearing surface though, so no real harm done.  With the saddle off it was then simple to drill and tap the holes to secure the reader head, and then re-assemble the machine.  As I had the machine apart I also installed a new bellow to guard the y axis – the flapping rubber sheet just seemed to be in the way.

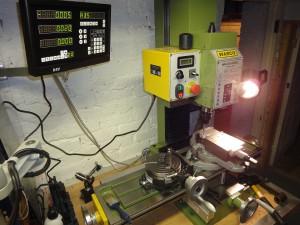
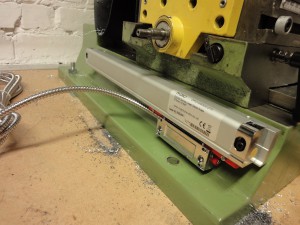
Finally installed and working – Z axis to go on still, but as the mill already has a small readout for the quill it’s not pressing.
Warco WM-18 DRO Installation – X Axis

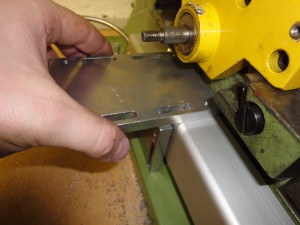
The X axis looked much easier.  Nicely ground smooth surfaces meant offering the scale backing plate up was simple enough:

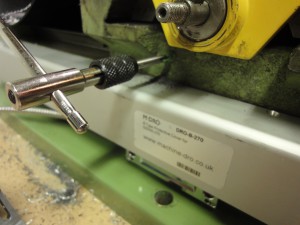
Then more deep breaths, drilling and tapping:

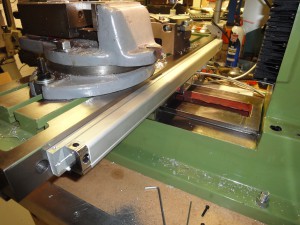
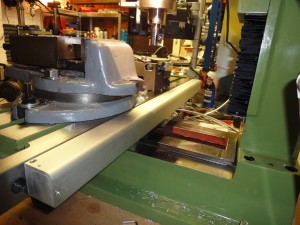
Then follows the backing plate, scale and cover – looks nice and tidy.  Y Travel will be slightly limited by the cover – only by about 15mm  – I’ll deal with that if it becomes a problem.

Warco WM-18 DRO Installation – Y Axis

Here’s a few pictures I took as I went along installing a DRO system on the WM-18.

Y Axis first, as I suspected it would be the most annoying.    The base of the mill has a small vertical face, and then a slanted section to the benchtop.  The scales I have use a 2-part cover which gives a backing plate to attach the scale to.

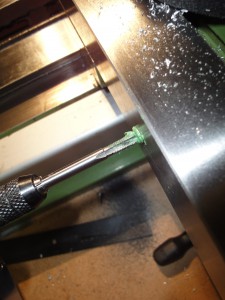
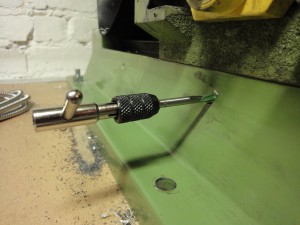
The first installation step is to attach the backing beam in the correct location, taking the travel of the saddle into account so you don’t destroy the scales the first time you travel the y-axis !  Once the position is determined, take a deep breath and start drilling.  Take a deeper breath and get the tap out – note how the base of the mill is nicely filled and painted – the sides of the saddle are left ‘as cast’.

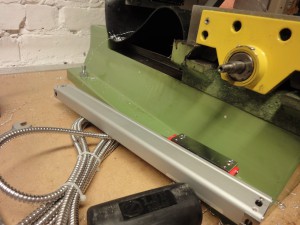
One hole drilled, then alignment can be checked to ensure parallel movement with the saddle travel.  Second hold drilled and tapped, and scale test fitted:

The scale needed about 10mm of shim on the top to get the backing plate vertical.  Once that was all looking good the next step is to connect the saddle to the reading head.  Various brackets are supplied:

I cut one of the brackets down on the bandsaw, then ran an endmill across the top to neaten it up.  Check position and drill and tap again.  As the casting is pretty rough it proved a bit tricky to get through the skin (and sand, probably!).  Tap came out again:

Then followed about an hour (!) of shimming, adjusting the rough surface, more shimming, packing, and general fiddling to get everything square and smooth.  There is clearance between the bracket and scale cover, believe it or not !

Next – the X axis !

Warco WM-18 Arrives !

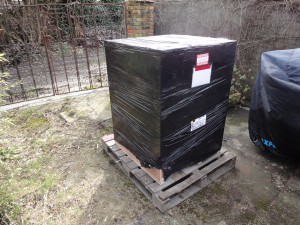
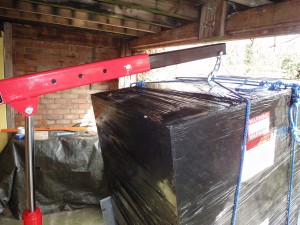
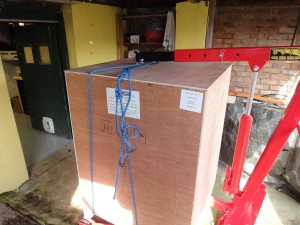
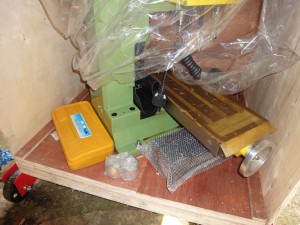
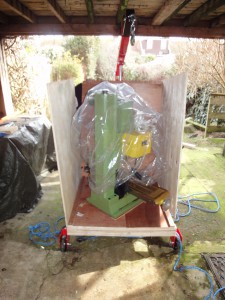
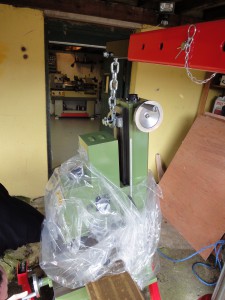
New mill delivered today by a pallet courier – fortunately the pallet truck they had was capable enough to get the crate all the way into the garden.